How to Repair Veneer: A Step-by-Step Guide
=====================================================================
Veneer is a thin layer of wood that’s glued to a surface to give it a nice finish. But, let’s be real, it’s not invincible. Sometimes, it can get damaged, and you’re left wondering how to repair veneer. Don’t worry, we’ve got you covered. In this article, we’ll show you how to repair veneer like a pro.
Assessing the Damage
Before you start repairing your veneer, you need to assess the damage. Take a closer look at the affected area and determine the extent of the damage. Is it just a small scratch or a full-blown delamination? Knowing the type of damage will help you decide how to repair veneer effectively.
Types of Veneer Damage
Veneer can be damaged in various ways, including:
- Scratches: Minor scratches can be easily fixed with some touch-up paint or a scratch remover.
- Dents: Dents can be more challenging to repair, but they can be fixed with some careful sanding and filling.
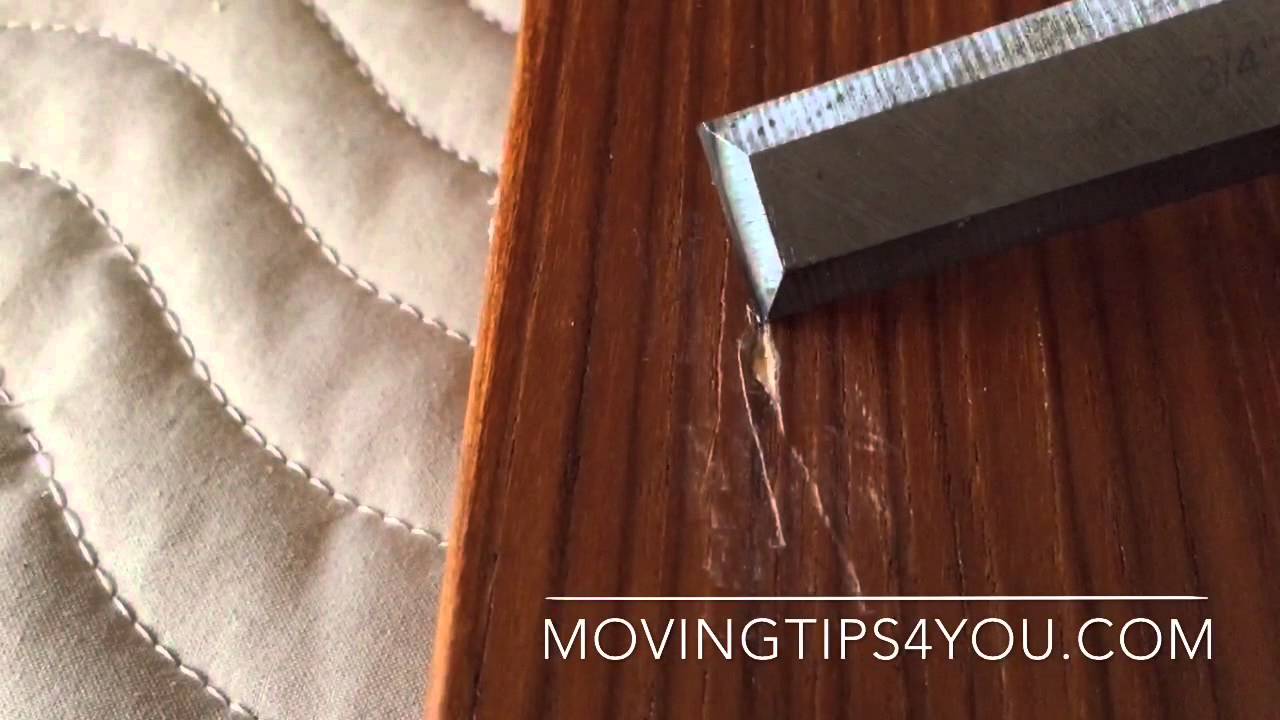
- Delamination: Delamination occurs when the veneer starts to peel off the surface. This is a more serious issue that requires some TLC.
Gathering Materials
To repair veneer, you’ll need some basic materials, including:
- Veneer patch: A small piece of veneer that matches the original veneer.
- Adhesive: A special adhesive that’s designed for veneer repair.
- Clamp: A clamp to hold the veneer patch in place.
- Sandpaper: Some sandpaper to smooth out the area.
- Touch-up paint: Some touch-up paint to match the original finish.
How to Repair Veneer Patches
If you have a small scratch or dent, you can repair it with a veneer patch. Here’s how to repair veneer patches:
- Cut the patch: Cut the veneer patch to match the shape of the damaged area.
- Apply adhesive: Apply some adhesive to the back of the patch and attach it to the damaged area.
- Clamp it: Clamp the patch in place to ensure it adheres properly.
- Sand it: Sand the area to smooth out any bumps or imperfections.
Fixing Delamination
Delamination is a more serious issue that requires some careful repair. Here’s how to repair veneer delamination:
Step 1: Clean the Area
Before you start repairing the delamination, make sure the area is clean and free of dust. Use a vacuum cleaner or a soft brush to remove any debris.
Step 2: Apply Adhesive
Apply some adhesive to the back of the veneer and attach it to the surface. Make sure it’s aligned properly and smooth out any air bubbles.
Step 3: Clamp It
Clamp the veneer in place to ensure it adheres properly. Use a clamp or a series of clamps to apply even pressure.
Step 4: Sand It
Once the adhesive has dried, sand the area to smooth out any bumps or imperfections.
Tips and Tricks
Here are some tips and tricks to keep in mind when repairing veneer:
- Use a matching veneer: Make sure the veneer patch matches the original veneer as closely as possible.
- Apply even pressure: Apply even pressure to ensure the veneer adheres properly.
- Sand carefully: Sand the area carefully to avoid scratching the surrounding surface.
- Use a touch-up paint: Use a touch-up paint to match the original finish.
Common Mistakes to Avoid
When repairing veneer, there are some common mistakes to avoid, including:
- Using too much adhesive: Using too much adhesive can cause the veneer to buckle or delaminate further.
- Applying uneven pressure: Applying uneven pressure can cause the veneer to adhere improperly.
- Sanding too aggressively: Sanding too aggressively can scratch the surrounding surface.
How to Repair Veneer: Conclusion
Repairing veneer can be a challenge, but with the right materials and techniques, it’s definitely doable. Remember to assess the damage, gather the necessary materials, and follow the steps outlined above. And most importantly, be patient and take your time. With a little practice, you’ll be a pro at how to repair veneer in no time.
How to Repair Veneer: Final Tips
Before you start repairing your veneer, remember to:
- Match the original veneer: Make sure the veneer patch matches the original veneer as closely as possible.
- Apply even pressure: Apply even pressure to ensure the veneer adheres properly.
- Sand carefully: Sand the area carefully to avoid scratching the surrounding surface.
By following these tips and techniques, you’ll be able to repair your veneer like a pro and make it look like new again. Happy repairing!