How to Repair Short Circuit Crankshaft Position Sensor: A Step-by-Step Guide
====================================================================
Are you dealing with a faulty crankshaft position sensor (CKP) that’s causing issues with your ride’s performance? Don’t sweat it, buddy. We’re here to walk you through the process of repairing a short circuit crankshaft position sensor. By the end of this article, you’ll be all set to tackle this DIY project like a pro.
What’s the Deal with the Crankshaft Position Sensor?
Before we dive into the nitty-gritty of repairing the CKP sensor, let’s quickly go over what it does. The crankshaft position sensor is a critical component that monitors the rotation of your engine’s crankshaft, sending this data to the engine control unit (ECU). The ECU uses this info to regulate fuel injection, ignition timing, and other vital functions.
Symptoms of a Faulty Crankshaft Position Sensor
Here are some telltale signs that your CKP sensor might be on the fritz:
- Rough engine idling or stalling
- Engine misfires or running rich
- Difficulty starting the engine
- Reduced fuel efficiency
- Check Engine Light (CEL) illuminated on the dashboard
Tools and Materials Needed
To repair a short circuit crankshaft position sensor, you’ll need:
- A new CKP sensor (if the old one’s beyond repair)
- Multimeter (set to ohms or continuity mode)
- Torx or hex key (for removal of the CKP sensor)
- Electrical tape or shrink tubing
- WD-40 or electrical cleaner (for corrosion removal)
How to Repair Short Circuit Crankshaft Position Sensor: Step-by-Step Guide
Step 1: Locate the CKP Sensor
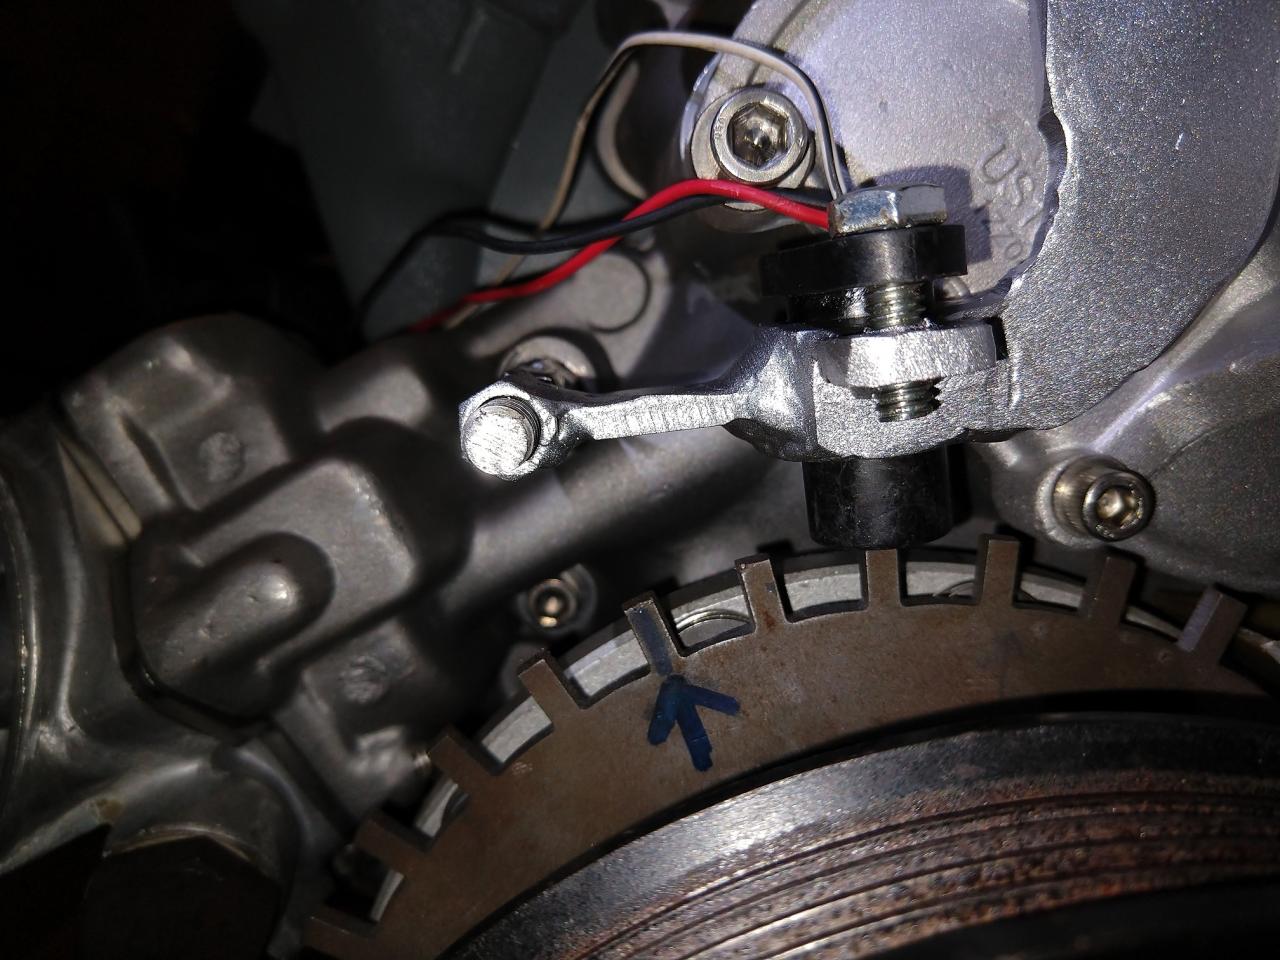
Find the CKP sensor, usually situated near the crankshaft pulley or harmonic balancer. Consult your repair manual or online documentation for specific locations on your ride.
Step 2: Disconnect the Battery
To avoid any accidental engine starts or electrical shocks, disconnect the negative battery cable before starting work.
Step 3: Remove the CKP Sensor
Use a Torx or hex key to remove the CKP sensor mounting bolt. Gently pull the sensor out of its housing or clip.
Step 4: Inspect the CKP Sensor and Wiring
Use your multimeter to check for signs of physical damage or corrosion on the CKP sensor and its wiring harness. Look for bent or broken pins, chafing, or corrosion. Clean any corrosion using WD-40 or electrical cleaner.
Step 5: Test the CKP Sensor
Using your multimeter, test the CKP sensor’s resistance and continuity. Compare your readings to the manufacturer’s specifications, usually found in your repair manual or online.
Step 6: Identify and Fix Short Circuits
If you detect a short circuit in the CKP sensor’s wiring harness, follow the wiring diagram to locate the issue. Use electrical tape or shrink tubing to repair the short circuit.
Step 7: Replace the CKP Sensor (If Necessary)
If your tests indicate that the CKP sensor’s bad or damaged beyond repair, swap it out for a new one. Ensure the replacement sensor is compatible with your engine.
Step 8: Reconnect the Battery
Reconnect the negative battery cable to restore power to your ride.
Step 9: Clear the CEL (If Needed)
If the Check Engine Light was on before starting this repair, use a scan tool or consult a mechanic to clear any stored trouble codes.
Step 10: Test Your Ride
Take your vehicle for a spin to ensure the CKP sensor repair was successful.
Additional Tips for Troubleshooting and Maintenance
To prevent future issues with your CKP sensor, follow these recommendations:
- Monitor Engine Performance: Regularly check your ride’s performance for any unusual behavior, such as rough idling or misfires.
- Update Your ECU Software: Ensure your engine control unit’s software is up to date to handle any changes to the CKP sensor or engine performance.
- Avoid Water or Moisture: Regularly inspect your engine compartment for any signs of water or moisture damage.
- Use Protective Gear: When working with electrical components, use protective gear like gloves and safety glasses to prevent injury.
Frequently Asked Questions
- Q: Can I use a multimeter to diagnose issues with my CKP sensor?
- A: Absolutely, a multimeter can help you measure resistance and continuity in the CKP sensor and wiring harness.
- Q: Can I repair a CKP sensor myself?
- A: If you’re comfortable with DIY repairs and have the necessary tools, you can try to fix the CKP sensor yourself.
How to Repair Short Circuit Crankshaft Position Sensor: In Closing
And that’s it – you’ve successfully repaired a short circuit crankshaft position sensor! How to repair short circuit crankshaft position sensor will vary depending on make and model, be sure to consult your repair manual for more specific details. With this step-by-step guide and some TLC for your ride, you’ll be hitting the open road in no time. Stay safe and keep on tinkering.