How to Repair Jewelry: A Step-by-Step Guide
Jewelry – it’s like, our favorite accessory, right? But, what happens when it breaks or gets damaged? Don’t worry, we’ve got you covered. In this article, we’ll show you how to repair jewelry like a pro.
Why Repair Your Jewelry?
Before we dive into the nitty-gritty of how to repair jewelry, let’s talk about why it’s a good idea to fix your broken bling. Here are a few reasons:
- It’s eco-friendly: Repairing your jewelry reduces waste and saves resources.
- It’s cost-effective: Fixing your jewelry is often cheaper than buying new.
- It’s sentimental: Jewelry often holds emotional value, so fixing it can be a way to preserve memories.
Basic Tools You’ll Need
Before you start how to repair jewelry, you’ll need some basic tools. Here are a few essentials:
- A work surface (e.g., a desk or table)
- A magnifying glass or loupe
- A pair of needle-nose pliers
- A pair of flat-nose pliers
- A small hammer
- A anvil or other metal-working surface
- Jewelry adhesive (e.g., epoxy or super glue)
- Thread or wire (for restringing)
How to Repair Jewelry: Cleaning and Inspection
The first step in how to repair jewelry is to clean and inspect the piece. This will help you identify any damage or issues. Here’s how:
- Clean the jewelry: Use a soft cloth and mild soap to wipe down the jewelry. Avoid using harsh chemicals or abrasive materials.
- Inspect the jewelry: Use a magnifying glass or loupe to examine the jewelry for damage or wear.
How to Repair Jewelry: Fixing Common Issues
Now that you’ve cleaned and inspected your jewelry, it’s time to start fixing common issues. Here are a few how to repair jewelry guides:
How to Repair Jewelry: Fixing a Broken Clasp
A broken clasp is one of the most common jewelry repair issues. Here’s how to fix it:
- Disassemble the clasp: Use needle-nose pliers to remove any screws or pins.
- Clean the clasp: Use a soft cloth and mild soap to wipe down the clasp.
- Reassemble the clasp: Use needle-nose pliers to reattach any screws or pins.
How to Repair Jewelry: Replacing a Lost Stone
Lost a stone from your jewelry? Don’t worry, it’s easy to replace. Here’s how to repair jewelry:
- Clean the setting: Use a soft cloth and mild soap to wipe down the setting.
- Remove any remaining adhesive: Use a small hammer and anvil to remove any remaining adhesive.
- Place the new stone: Use jewelry adhesive to attach the new stone.
How to Repair Jewelry: Restringing a Necklace
Need to restring a necklace? Here’s how to repair jewelry:
- Remove the old string: Use needle-nose pliers to remove the old string.
- Clean the beads: Use a soft cloth and mild soap to wipe down the beads.
- Thread the new string: Use needle-nose pliers to thread the new string.
How to Repair Jewelry: Advanced Techniques
Want to take your jewelry repair skills to the next level? Here are a few advanced techniques:
How to Repair Jewelry: Soldering
Soldering is a technique used to join two metal pieces together. Here’s how to repair jewelry using soldering:
- Clean the metal: Use a soft cloth and mild soap to wipe down the metal.
- Apply flux: Use a small brush to apply flux to the metal.
- Heat the metal: Use a soldering iron to heat the metal.
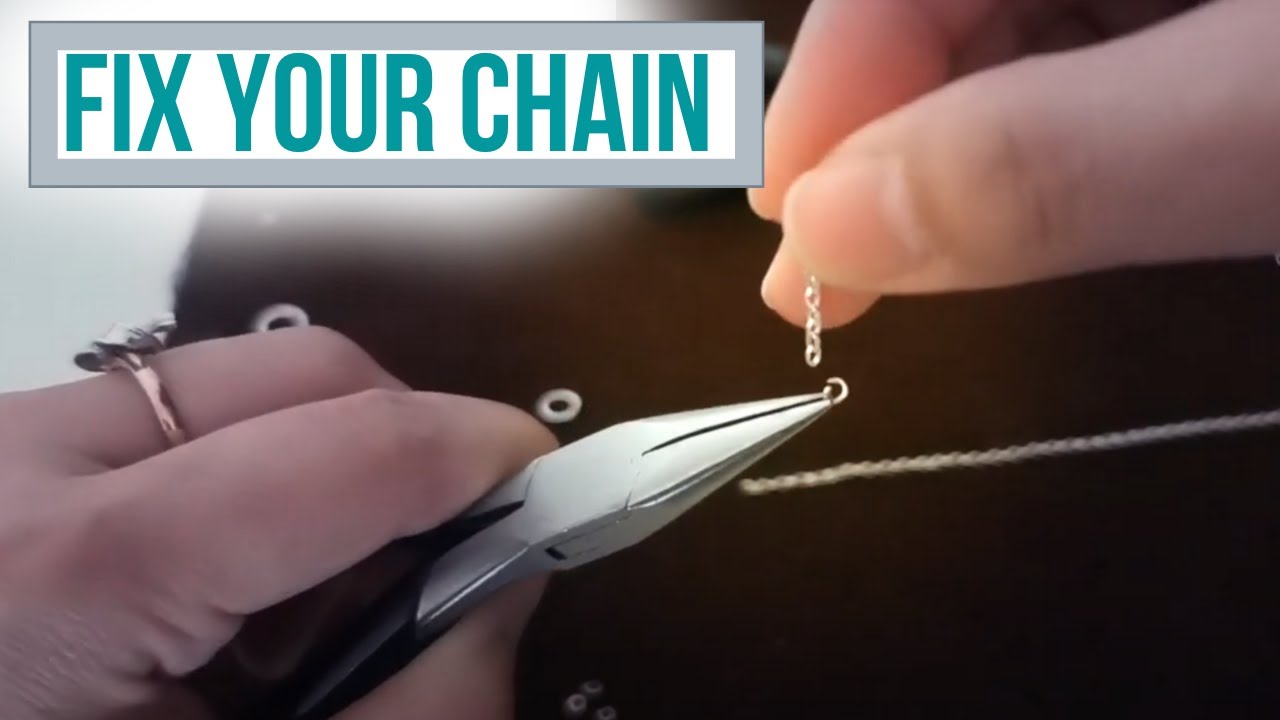
How to Repair Jewelry: Repairing a Broken Chain
A broken chain can be a real pain. Here’s how to repair jewelry:
- Identify the break: Use a magnifying glass or loupe to identify the break.
- Clean the chain: Use a soft cloth and mild soap to wipe down the chain.
- Reattach the link: Use needle-nose pliers to reattach the link.
How to Repair Jewelry: Tips and Tricks
Here are a few how to repair jewelry tips and tricks:
- Use the right tools: Invest in a few basic tools, such as needle-nose pliers and a magnifying glass.
- Be patient: Jewelry repair can be tedious, so be patient and take your time.
- Practice makes perfect: Don’t be discouraged if you don’t get it right the first time. Practice makes perfect!
How to Repair Jewelry: Conclusion
And there you have it – a comprehensive guide on how to repair jewelry. Whether you’re a beginner or a pro, these tips and techniques will help you fix your broken bling. Remember to be patient, practice makes perfect, and always use the right tools. Happy repairing!
So, you now know how to repair jewelry like a pro.