How to Repair a Broken Connector for Backup Camera
Are you tired of dealing with a faulty backup camera on your ride? Don’t worry, we’ve got you covered. In this article, we’ll show you how to repair a broken connector for backup camera so you can get back to reversing like a pro.
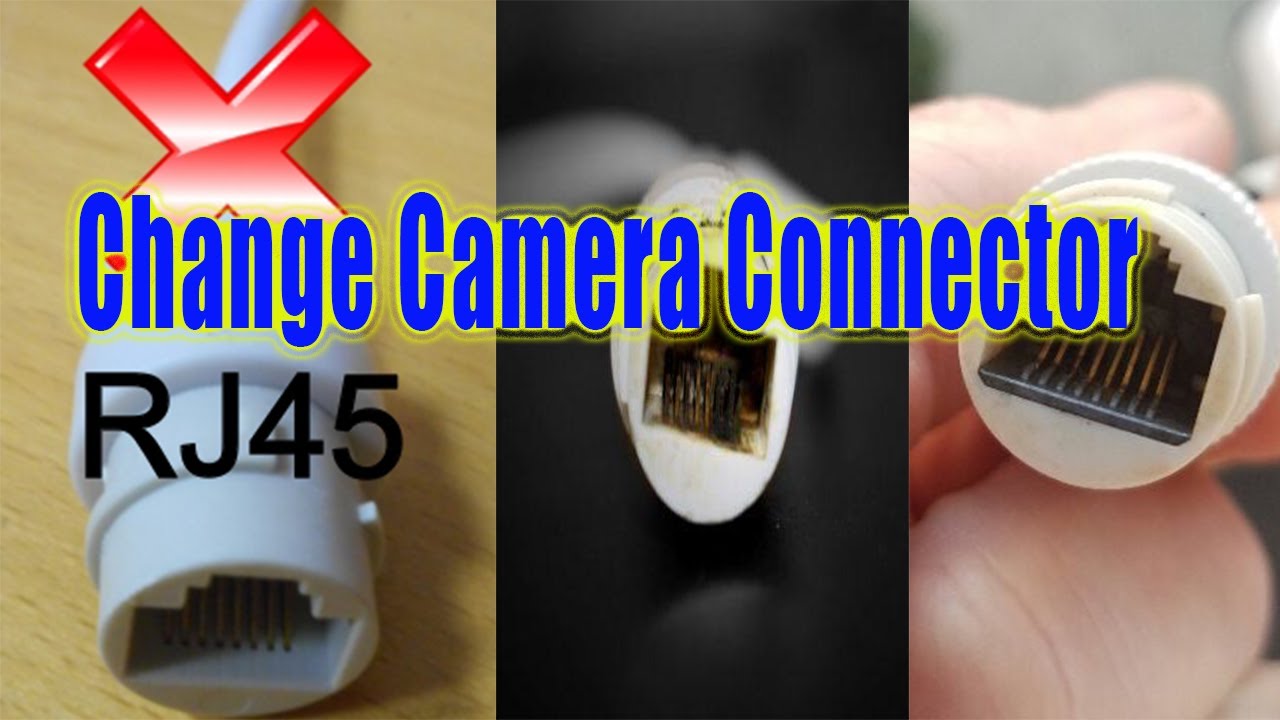
Understanding the Backup Camera Connector
Before we dive into the repair, let’s talk about the backup camera connector. This connector is usually a small, waterproof plug that connects the camera to the car’s electrical system. It’s designed to withstand the elements, but sometimes it can get damaged or corroded, causing issues with the camera.
Symptoms of a Broken Connector
So, how do you know if your backup camera connector is broken? Here are some common symptoms to look out for:
- No image on the screen
- Poor image quality
- Intermittent connection
- Camera not turning on
If you’re experiencing any of these issues, it’s likely that your connector is faulty.
Tools and Materials Needed
To repair the connector, you’ll need a few tools and materials. Here’s a list of what you’ll need:
- A replacement connector (available at most auto parts stores)
- Wire strippers
- Needle-nose pliers
- Electrical tape
- Soldering iron (optional)
Removing the Old Connector
The first step in repairing the connector is to remove the old one. This can be a bit tricky, but don’t worry, we’ve got some tips to make it easier.
- Locate the connector: Start by finding the connector that connects the camera to the car’s electrical system. It’s usually located near the camera or in the trunk.
- Release the clip: Most connectors have a clip or latch that holds them in place. Release this clip to access the connector.
- Pull out the connector: Gently pull out the connector from the car’s electrical system.
Inspecting and Cleaning the Connector
Before installing the new connector, inspect it for any signs of damage or corrosion. If you find any damage, you may need to replace the entire connector.
- Inspect the connector: Look for any signs of damage, such as cracks or breaks in the plastic or metal.
- Clean the connector: Use a soft-bristled brush or a cotton swab to clean out any debris or corrosion from the connector.
Installing the New Connector
Now that you’ve inspected and cleaned the connector, it’s time to install the new one.
- Match the wires: Match the wires from the new connector to the wires from the car’s electrical system.
- Connect the wires: Use needle-nose pliers to connect the wires to the new connector.
- Secure the connector: Use electrical tape to secure the connector to the car’s electrical system.
Soldering the Wires (Optional)
If you’re comfortable soldering, you can solder the wires to the new connector for a more secure connection.
- Prepare the wires: Strip the insulation from the wires using wire strippers.
- Solder the wires: Use a soldering iron to solder the wires to the new connector.
Testing the Connector
Once you’ve installed the new connector, it’s time to test it.
- Turn on the camera: Turn on the backup camera to test the connection.
- Check the image: Check the image on the screen to make sure it’s clear and free of any issues.
How to Prevent Future Damage
To prevent future damage to the connector, here are a few tips:
- Keep the connector clean and dry.
- Avoid exposing the connector to extreme temperatures.
- Use a connector cover or protective sleeve to protect the connector from debris.
Conclusion
Repairing a broken connector for a backup camera is a relatively easy process that you can do yourself. By following these steps, you can get your camera up and running in no time. Remember to test the connector and check the image to make sure it’s working properly.
How to Repair Broken Connector for Backup Camera: A Recap
To recap, here are the steps to repair a broken connector for a backup camera:
- Remove the old connector
- Inspect and clean the connector
- Install the new connector
- Solder the wires (optional)
- Test the connector
By following these steps, you can repair a broken connector and get your backup camera up and running in no time.
How to Repair Broken Connector for Backup Camera?
Don’t let a broken connector ruin your backup camera experience. With these simple steps, you can repair a broken connector and get back to reversing like a pro.