How to Repair a Blend Door Actuator: A Comprehensive Guide
If your car’s heating and cooling system is on the fritz, you might be wondering how to repair a blend door actuator. Don’t worry, we’ve got you covered. In this article, we’ll walk you through the process of repairing a blend door actuator, a crucial component of your car’s HVAC system.
What is a Blend Door Actuator?
Before we dive into how to repair a blend door actuator, let’s talk about what it is and what it does. A blend door actuator is an electric motor that controls the blend door in your car’s HVAC system. The blend door is responsible for mixing hot and cold air to achieve the desired temperature. The actuator is usually connected to the HVAC control module and receives signals to adjust the blend door to different positions.
Symptoms of a Faulty Blend Door Actuator
If your blend door actuator is malfunctioning, you might notice the following symptoms:
- Inconsistent temperature control
- Loud noise coming from the dashboard
- No air flow from the vents
- Temperature fluctuations
If you’re experiencing any of these symptoms, it’s likely that your blend door actuator needs to be repaired or replaced. Don’t worry, we’ll show you how to repair a blend door actuator in the following sections.
Tools and Materials Needed
To repair a blend door actuator, you’ll need the following tools and materials:
- A screwdriver
- A Torx driver
- A wrench
- Electrical tape
- A replacement actuator (if necessary)
- A wiring diagram for your specific vehicle
Step 1: Locate the Blend Door Actuator
The first step in how to repair a blend door actuator is to locate the actuator itself. It’s usually located behind the dashboard, near the HVAC control module. You might need to remove some trim panels and screws to access it.
How to Repair a Blend Door Actuator: Removing the Trim Panels
To access the blend door actuator, you’ll need to remove the trim panels around the dashboard. This will give you access to the actuator and any other components you might need to repair. Use a screwdriver to remove the screws and gently pry the panels away from the dashboard.
Removing the Actuator Mounting Screws
Once you’ve removed the trim panels, you’ll see the blend door actuator mounted to the dashboard. Use a Torx driver to remove the mounting screws. Be careful not to damage the surrounding components.
Disconnecting the Electrical Connector
Next, you’ll need to disconnect the electrical connector from the actuator. Use a wrench to loosen the nut holding the connector in place. Then, gently pull the connector away from the actuator.
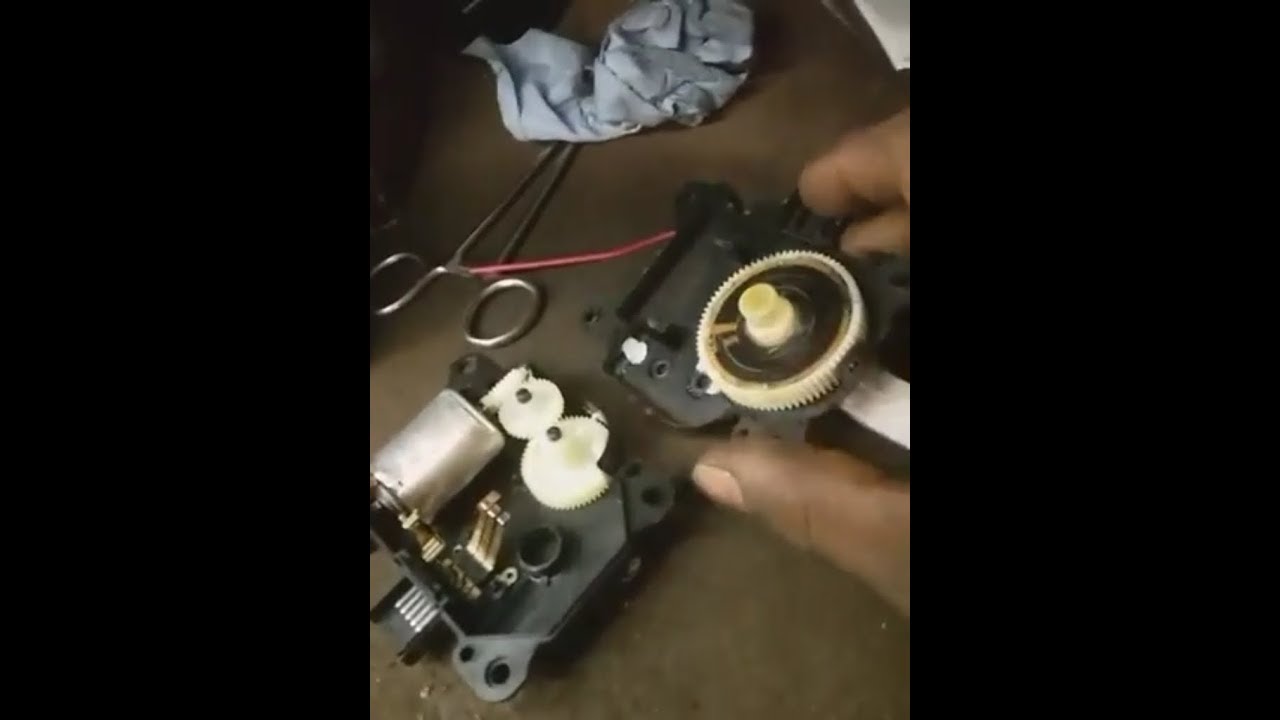
How to Repair a Blend Door Actuator: Inspecting the Actuator
Now that you’ve removed the actuator, inspect it for any signs of damage or wear. Check for rust, corrosion, or broken wires. If you find any damage, you might need to replace the actuator.
How to Repair a Blend Door Actuator: Cleaning the Actuator
If your actuator is just dirty or clogged, you might be able to clean it instead of replacing it. Use a soft brush or a cloth to gently clean away any debris or dust. Make sure to avoid getting any liquids into the actuator.
How to Repair a Blend Door Actuator: Replacing the Actuator
If you’ve determined that your actuator is beyond repair, you’ll need to replace it with a new one. Make sure to purchase a replacement actuator that’s compatible with your vehicle’s make and model.
Installing the New Actuator
Once you’ve obtained the replacement actuator, follow these steps to install it:
- Mount the new actuator to the dashboard using the same mounting screws you removed earlier.
- Connect the electrical connector to the new actuator. Make sure it’s securely fastened.
- Reconnect any other components you disconnected to access the actuator.
How to Repair a Blend Door Actuator: Reassembling the Dashboard
Once you’ve installed the new actuator, reassemble the dashboard by reversing the steps you followed to access the actuator. Make sure everything is securely fastened and in its proper place.
Conclusion: How to Repair a Blend Door Actuator
Repairing a blend door actuator can be a bit of a challenge, but with the right tools and a little patience, you can get the job done. Remember to consult your vehicle’s repair manual and wiring diagram for specific instructions and precautions. By following the steps outlined in this article, you should be able to repair your blend door actuator and get your car’s HVAC system working smoothly again. How to repair a blend door actuator might seem daunting, but it’s definitely doable with the right guidance.