How to Repair Drywall Tape Bubbles Like a Pro
=====================================================
Are you tired of looking at those annoying bubbles on your drywall? You know, the ones that seem to appear out of nowhere and ruin the smooth finish of your walls? Well, worry no more, my friend, because we’re about to dive into the world of drywall repair and learn how to repair drywall tape bubbles like a pro.
Understanding the Reason Behind Drywall Tape Bubbles
Before we start fixing those bubbles, let’s first understand why they form in the first place. There are a few reasons why drywall tape bubbles might appear on your walls, including:
- Incorrect installation: If the drywall tape is not applied correctly, it can lead to bubbles and blisters on the surface.
- Water damage: Water can seep behind the drywall tape and cause the adhesive to loosen, leading to bubbles.
- Settling foundation: As your house settles, the drywall can shift, causing the tape to bubble up.
Finding the Right Tools for the Job
Now that we know why those bubbles form, it’s time to gather our tools and get to work. Here are the basic tools you’ll need to repair drywall tape bubbles:
- A putty knife (also known as a joint knife)
- A utility knife or a drywall knife
- A sanding block or sandpaper
- Joint compound (also known as spackling compound)
- Paint (optional)
Preparing the Area
Before we start fixing those bubbles, we need to prepare the area around them. This involves:
- Cleaning the area: Use a vacuum cleaner or a damp cloth to remove any debris or dust from the area.
- Removing furniture: If you have any furniture or decorations near the bubbles, remove them to give you clear access.
- Covering the floor: Lay down a drop cloth or a plastic sheet to protect your floor from any mess.
How to Repair Drywall Tape Bubbles – Step-by-Step Guide
Now that we’re all set, let’s dive into the nitty-gritty of how to repair drywall tape bubbles. Follow these steps carefully:
Step 1: Pop the Bubble
Use your putty knife or utility knife to carefully pop the bubble. Be careful not to press too hard, as you don’t want to damage the drywall beneath.
Step 2: Remove the Old Tape
Use your putty knife or utility knife to remove the old drywall tape. Try to remove as much of the tape as possible, but be careful not to scratch the drywall.
Step 3: Clean the Area
Use a vacuum cleaner or a damp cloth to clean the area where the old tape was. This will help remove any debris or dust that might interfere with the new tape.
Step 4: Apply Joint Compound
Use your putty knife to apply a thin layer of joint compound to the area where the new tape will go. Make sure to spread it evenly and smoothly.
Step 5: Apply the New Tape
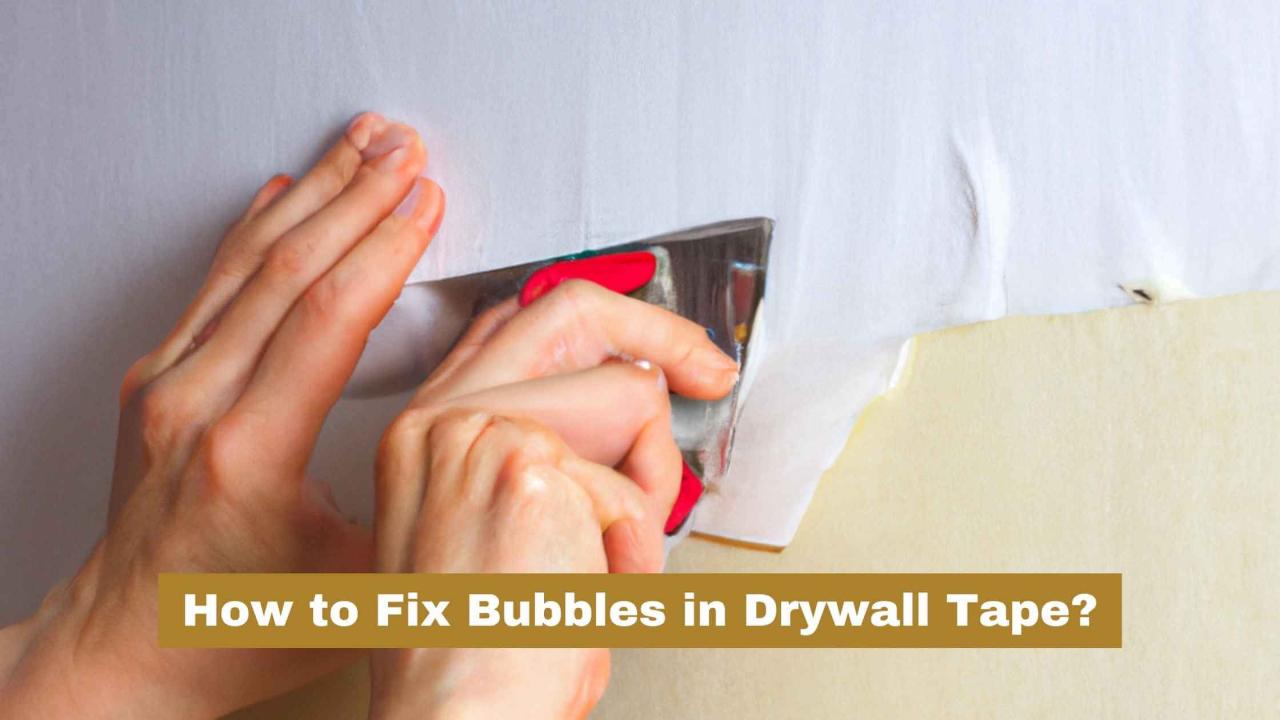
Press the new drywall tape firmly onto the joint compound. Make sure to press it firmly and smoothly, and use a putty knife or a special tool to remove any air bubbles.
Step 6: Apply Additional Coats of Compound
Apply additional coats of joint compound to the area, spreading it smoothly and evenly. Use a putty knife or a sanding block to smooth out the area.
Step 7: Sand the Area
Use a sanding block or sandpaper to sand the area smooth. Make sure to sand in a circular motion and use a light touch to avoid scratching the drywall.
How to Prevent Future Drywall Tape Bubbles
Now that we’ve fixed those bubbles, let’s talk about how to prevent future ones from forming. Here are a few tips:
- Use the right tape: Use a high-quality drywall tape that is designed for your specific type of drywall.
- Apply the tape correctly: Follow the manufacturer’s instructions for applying the tape, and make sure to press it firmly and smoothly onto the drywall.
- Monitor for water damage: Keep an eye out for any water damage or leaks, as these can cause bubbles to form.
Additional Tips and Tricks
Here are a few additional tips and tricks to help you repair drywall tape bubbles like a pro:
- Use a drywall repair kit: If you’re not comfortable with the process, consider using a drywall repair kit that includes pre-mixed compound and tape.
- Don’t over-sand: Be careful not to over-sand the area, as this can create scratches and imperfections.
- Use a vacuum cleaner: Use a vacuum cleaner to clean up any mess as you go, to avoid making a bigger mess.
Conclusion
And there you have it, folks! With these simple steps and tips, you should be able to repair drywall tape bubbles like a pro. Remember to be patient, take your time, and use the right tools for the job. Good luck, and happy repairing!
How to Repair Drywall Tape Bubbles is a simple process that requires the right tools, a bit of patience, and some basic knowledge of drywall repair. By following these steps and tips, you’ll be able to fix those annoying bubbles and achieve a smooth, professional-looking finish.