How to Repair Gaps in Hardwood Floors: A Comprehensive Guide
Are you dealing with gaps in your hardwood floors? Don’t worry, it’s a common issue that can be easily fixed. In this article, we’ll walk you through the process of how to repair gaps in hardwood floors, so you can get your floors looking like new again.
Why Do Gaps Appear in Hardwood Floors?
Before we dive into the repair process, it’s essential to understand why gaps appear in hardwood floors in the first place. Here are some common reasons:
- Shrinkage: Hardwood floors shrink and expand with changes in humidity and temperature. As the wood contracts, gaps can appear between the planks.
- Settling: Over time, the foundation of your home can settle, causing the hardwood floors to shift and create gaps.
- Poor Installation: If the hardwood floors were not installed correctly, gaps can appear between the planks.
- Wear and Tear: As you walk on your hardwood floors, the wood can wear down, creating gaps between the planks.
Materials Needed to Repair Gaps in Hardwood Floors
Before you start the repair process, make sure you have the following materials:
- Hardwood floor putty: A colored putty that matches the color of your hardwood floors.
- Wood filler: A filler that matches the color of your hardwood floors.
- Caulk: A clear or colored caulk that matches the color of your hardwood floors.
- Wood glue: A strong adhesive that can bond wood together.
- Clamps: Used to hold the planks together while the glue dries.
- Safety glasses: Protective eyewear that will protect your eyes from debris.
- Lumber: Additional wood planks or strips that match the color and type of your hardwood floors.
How to Repair Gaps in Hardwood Floors: A Step-by-Step Guide
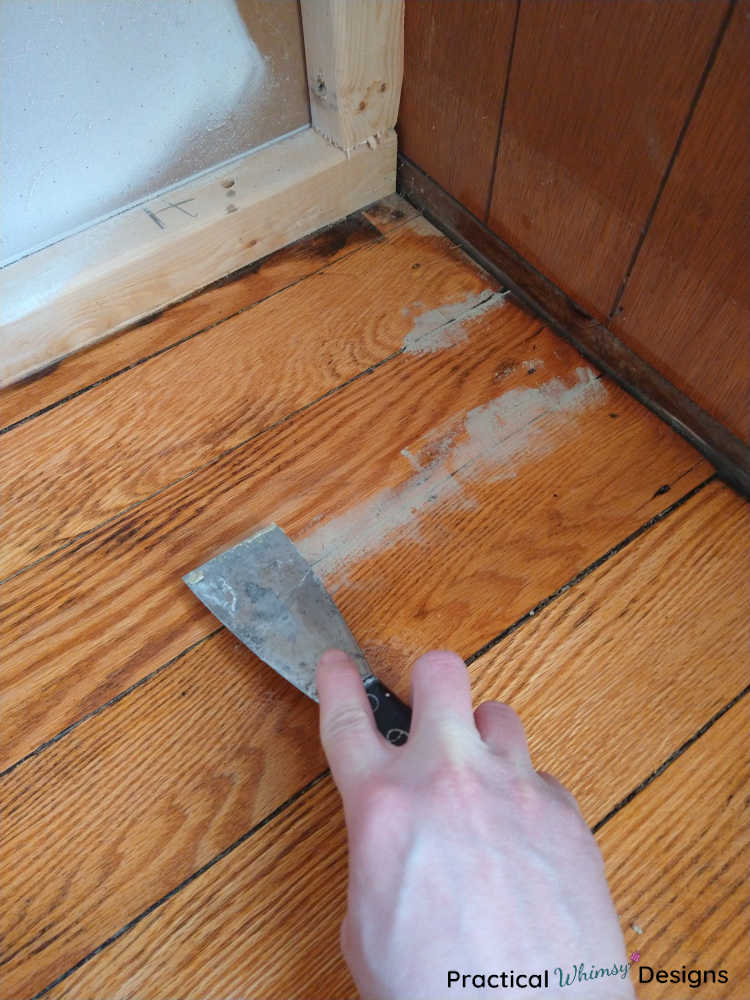
Step 1: Clean the Gaps
Before you start repairing the gaps, make sure to clean them thoroughly. Use a vacuum cleaner to remove any debris or dust from the gaps. Then, use a damp cloth to wipe down the gaps and surrounding areas.
Step 2: Choose the Right Repair Method
Depending on the size and location of the gap, you may need to use different repair methods. Here are a few options:
- Small Gaps: For small gaps (less than 1/4 inch), you can use hardwood floor putty or caulk to fill the gap.
- Medium Gaps: For medium gaps (1/4 inch to 1/2 inch), you can use wood filler or caulk to fill the gap.
- Large Gaps: For large gaps (over 1/2 inch), you may need to use lumber to fill the gap.
Step 3: Apply the Repair Material
Once you’ve chosen the right repair method, it’s time to apply the material. Here’s how:
- Hardwood Floor Putty: Use a putty knife to apply the putty to the gap. Fill the gap completely, but don’t overfill it.
- Caulk: Use a caulk gun to apply the caulk to the gap. Fill the gap completely, but don’t overfill it.
- Wood Filler: Use a putty knife to apply the wood filler to the gap. Fill the gap completely, but don’t overfill it.
- Lumber: Use a nail gun to attach the lumber to the surrounding planks. Make sure to match the type and color of the lumber to the surrounding planks.
Step 4: Clamp the Planks
If you’re using lumber to fill a large gap, you’ll need to clamp the planks together while the glue dries. Use clamps to hold the planks in place, making sure they’re aligned properly.
Step 5: Sand and Finish
Once the repair material has dried, it’s time to sand and finish the area. Use a sanding block to smooth out the area, feathering it out to blend with the surrounding wood. Then, apply a finish (such as polyurethane or wax) to the area to match the rest of the hardwood floors.
How to Prevent Gaps in Hardwood Floors
While repairing gaps in hardwood floors is a relatively simple process, preventing them from appearing in the first place is even better. Here are some tips:
- Maintain a Consistent Humidity Level: Keep the humidity level in your home consistent, between 35-55%. This will help prevent the hardwood floors from shrinking and expanding.
- Use Area Rugs: Place area rugs over high-traffic areas to reduce wear and tear on the hardwood floors.
- Use Felt Pads: Place felt pads on the legs of furniture to prevent them from scratching or denting the hardwood floors.
- Clean Spills Immediately: Clean spills immediately to prevent them from seeping into the gaps between the planks.
Conclusion
Repairing gaps in hardwood floors is a relatively simple process that can be done with the right materials and tools. By following the steps outlined in this article, you can repair gaps in hardwood floors and have your floors looking like new again. Remember to maintain a consistent humidity level, use area rugs, and clean spills immediately to prevent gaps from appearing in the future.
How to Repair Gaps in Hardwood Floors: Final Tips
- Always test the repair material on a small, inconspicuous area before applying it to the gap.
- Use safety glasses and a dust mask when sanding and working with power tools.
- Work in a well-ventilated area to prevent inhaling dust and debris.
- Take your time and be patient when repairing gaps in hardwood floors. It may take some trial and error to get the repair just right.