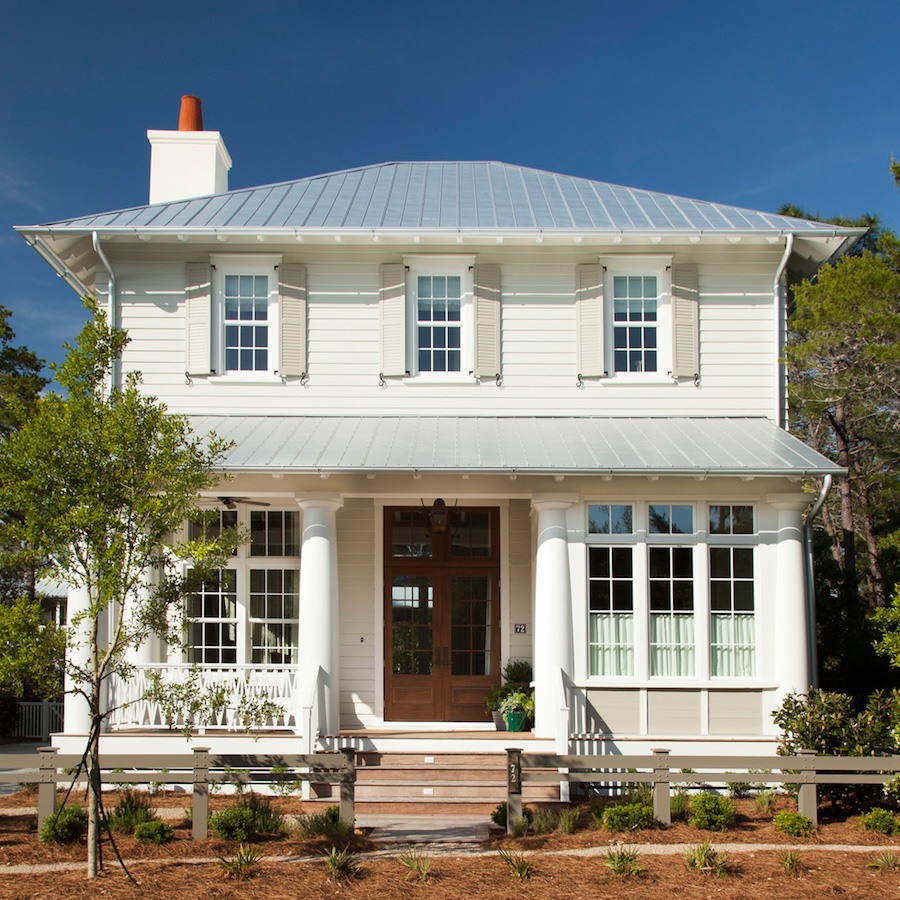
How to Paint Exterior House Trim Like a Pro
Hey there, homeowners. Are you tired of your house looking dull and dated? One of the easiest ways to give your home a fresh new look is to paint exterior house trim. Not only will it enhance the curb appeal of your property, but it’ll also protect the wood from the elements. In this article, we’ll walk you through the process of painting exterior house trim like a pro.
Why Paint Exterior House Trim?
Before we dive into the nitty-gritty, let’s talk about why painting exterior house trim is so important. The trim on your house is the first thing people notice when they pull up to your property. It’s the finishing touch that sets your home apart from the rest. But that’s not all. Exterior house trim also serves as a protective barrier against the elements. If the wood is exposed, it can lead to rot, decay, and even structural damage.
Choosing the Right Paint
When it comes to painting exterior house trim, you’ll want to choose a paint that’s specifically designed for outdoor use. Look for paint that’s labeled as "exterior" or "all-weather" paint. These paints are formulated to withstand the elements and will provide a durable finish.
Here are a few factors to consider when choosing paint:
- Color: Choose a color that complements the color of your house. You want the trim to stand out, but you don’t want it to clash with the rest of the exterior.
- Finish: Choose a paint with a high-gloss or semi-gloss finish. These finishes will provide a durable, easy-to-clean surface.
- Type: Choose a paint that’s specific to the type of trim you’re painting. For example, if you’re painting wood trim, choose a paint that’s specifically designed for wood.
Preparing the Trim
Before you can start painting, you’ll need to prepare the trim. Here are a few steps to follow:
Clean the Trim
Use a power washer to clean the trim. This will remove any dirt, grime, or mildew that’s accumulated on the surface.
Scrape Off Old Paint

Use a paint scraper to remove any old, flaking paint. This will ensure a smooth finish and prevent any unevenness.
Sand the Trim
Use a sanding block or sandpaper to smooth out the trim. This will help the paint adhere to the surface.
Fill any Gaps or Cracks
Use caulk or wood filler to fill any gaps or cracks in the trim. This will prevent moisture from seeping in and causing damage.
Painting the Trim
Now it’s time to start painting. Here are a few tips to keep in mind:
Prime the Trim (optional)
If you’re using a dark color or painting over a light color, you may need to prime the trim first. Use a primer that’s specifically designed for exterior use.
Apply the First Coat
Use a high-quality brush or roller to apply the first coat of paint. Work in small sections, using smooth, even strokes.
Allow the Paint to Dry
Allow the paint to dry completely before applying a second coat. This can take anywhere from 30 minutes to an hour, depending on the type of paint you’re using.
Apply Additional Coats
Apply additional coats as needed, following the same process as the first coat.
Tips and Tricks
Here are a few tips and tricks to keep in mind when painting exterior house trim:
- Use a paintbrush: A paintbrush will give you more control and precision than a roller.
- Work in small sections: This will help prevent the paint from drying too quickly and ensure a smooth finish.
- Use a drop cloth: A drop cloth will protect your lawn and landscaping from paint spills.
- Don’t paint in direct sunlight: Direct sunlight can cause the paint to dry too quickly, leading to unevenness.
Common Mistakes to Avoid
Here are a few common mistakes to avoid when painting exterior house trim:
- Not preparing the trim: Failing to clean, scrape, and sand the trim can lead to a poor finish.
- Using the wrong paint: Using interior paint or paint that’s not specifically designed for exterior use can lead to a finish that’s prone to chipping and fading.
- Not applying enough coats: Failing to apply enough coats can leave the trim looking patchy and uneven.
Conclusion
Painting exterior house trim is a simple and cost-effective way to enhance the curb appeal of your home. By following the tips and tricks outlined in this article, you’ll be able to achieve a professional-looking finish that’ll last for years to come. Remember to choose the right paint, prepare the trim, and apply multiple coats for a smooth, even finish. Happy painting.
Paint Exterior House Trim Like a Pro
By following the tips and tricks outlined in this article, you’ll be able to paint exterior house trim like a pro. Remember to take your time, work in small sections, and use a high-quality paint for a finish that’ll last for years to come.